


Installation Guide: Handrails for steps
Welcome to handrail installation made easy with Hold Tight Handrails. We are happy to take away the stress of drilling and concrete to give you safety and independence quickly and easily without remodeling. The one to three step handrails are perfect for garage steps and short staircases, like your porch, while providing durability that is sure to last. Want to install them yourself? Check out our guides for each type, wall mounted or jamb mounted, to see how you can install the railings.

Jamb Mount Installation Instructions

Thank you for purchasing a Hold Tight Handrail! You are well on your way to greater security and peace of mind in your home. Let’s get started with installation.
(Don't have your Hold Tight Handrail yet? Take a look at our jamb-mount handrails.)
Tools Required:
- Drill
- Tape Measure
- Pencil
- 1/8” drill bit
- Included: 5 - 3.5 inch long screws and a 6 inch T25 Torx Bit
Step 1: Decide on the installation height of your handrail
Typical commercial code is between 34"-38" from the floor. We recommend 36" because that’s the height of a standard doorknob. With that in mind, you are free to install your home handrail at whatever height best suits the user.
Step 2: Set your railing into position
Make sure your handrail is lined up properly with the door, and mark holes with a pencil.

Step 3: Pre-drill your holes
Using a 1/8” drill bit, pre-drill all five marked holes.

Step 4: Mount your handrail
Using the provided T25 Torx Bit, mount the handrail in place with all five screws. Apply heavy pressure when screwing in the screws to avoid stripping the heads.

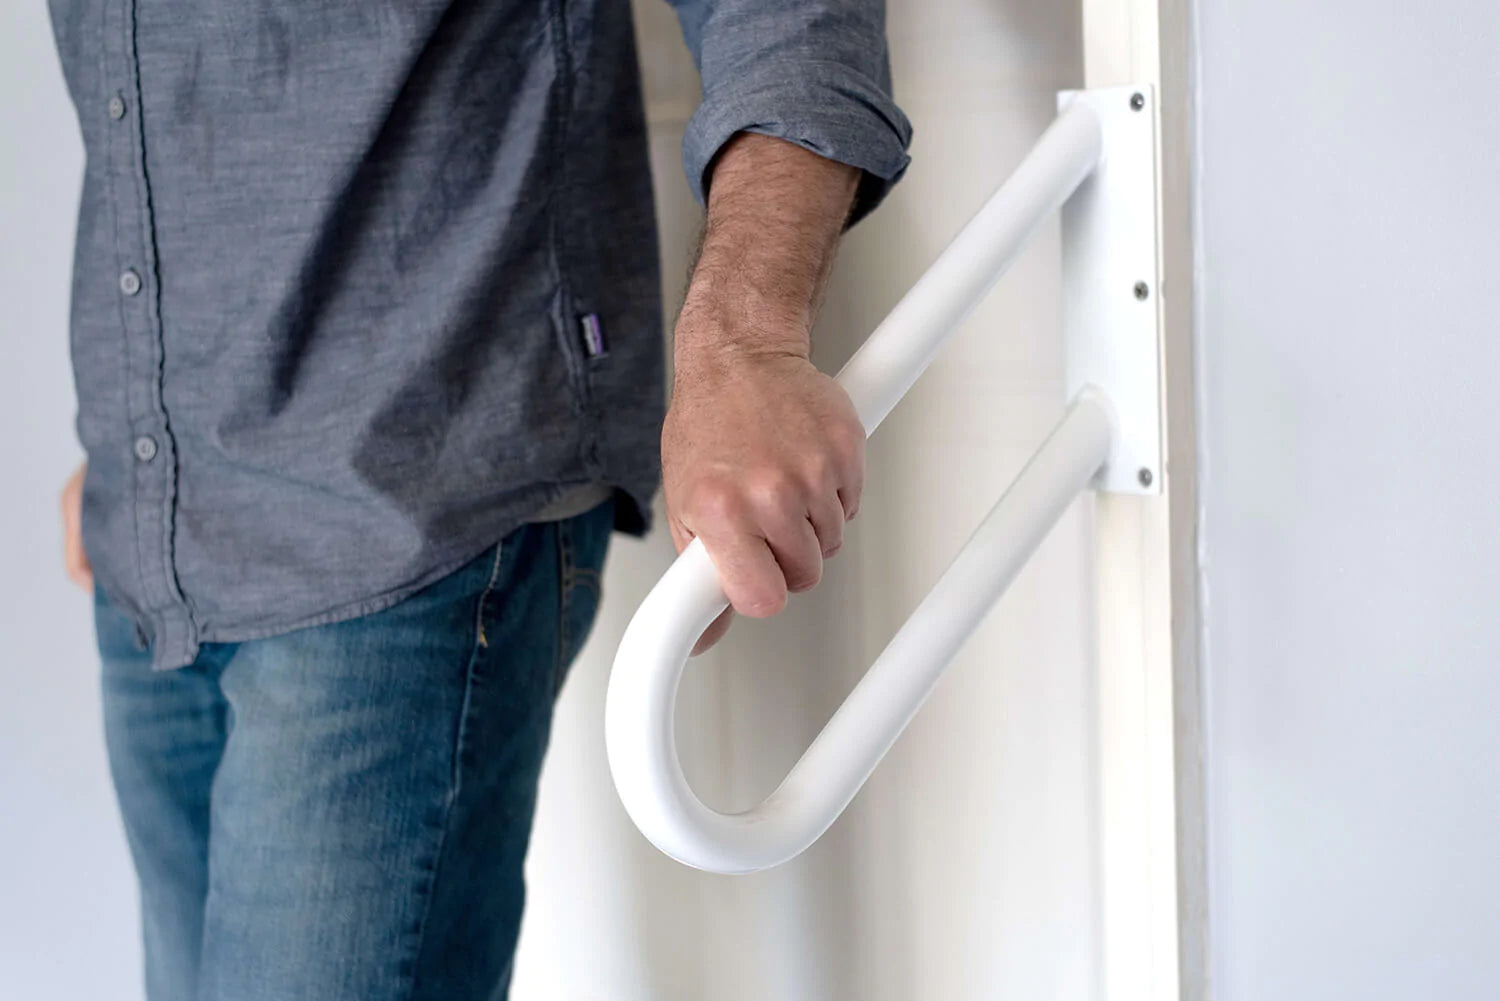
Installation is complete! You are now ready to navigate your stairs with greater confidence.
If you have any questions on installation, please watch the installation videos on this page, or feel free to contact Steve at steve@holdtighthandrails.com.
Wall Mount Installation Instructions
Thank you for purchasing a Hold Tight Handrail! You’re one step closer to peace of mind in your home. Together, let’s install your wall mount handrails.
(Don't have your Hold Tight Handrail yet? Take a look at our wall-mount handrails.)
Tools Required:
- Stud Finder
- Tape Measure
- Drill
- Pencil
- 5/32" drill bit
- Phillips bit
- Included screws: 6 stainless steel screws
- Optional: painter's tape to mark studs
- Optional: plywood board for installation locations without at least two stud anchors - see below for details
Step 1: Decide on the installation height and location of your Hold Tight Handrail
Typical commercial code is between 34"-38" from the floor. We recommend 36", because that is the height of a standard doorknob. With that in mind, you are free to install your home handrails at whatever height best suits the user.

Step 2: Locate the studs and determine if you need a wall board for safe installation
The screw holes on your mounting bracket closest to the door will almost always connect with a stud, but sometimes the screw holes on the far side of the mounting bracket do not. Using a stud finder, locate and then mark the location of your studs onto painter's tape. If the location you intend to install on does not have a stud behind the far side screws, then you should install a wall board. If your screws can safely connect to your studs, skip to step 4.


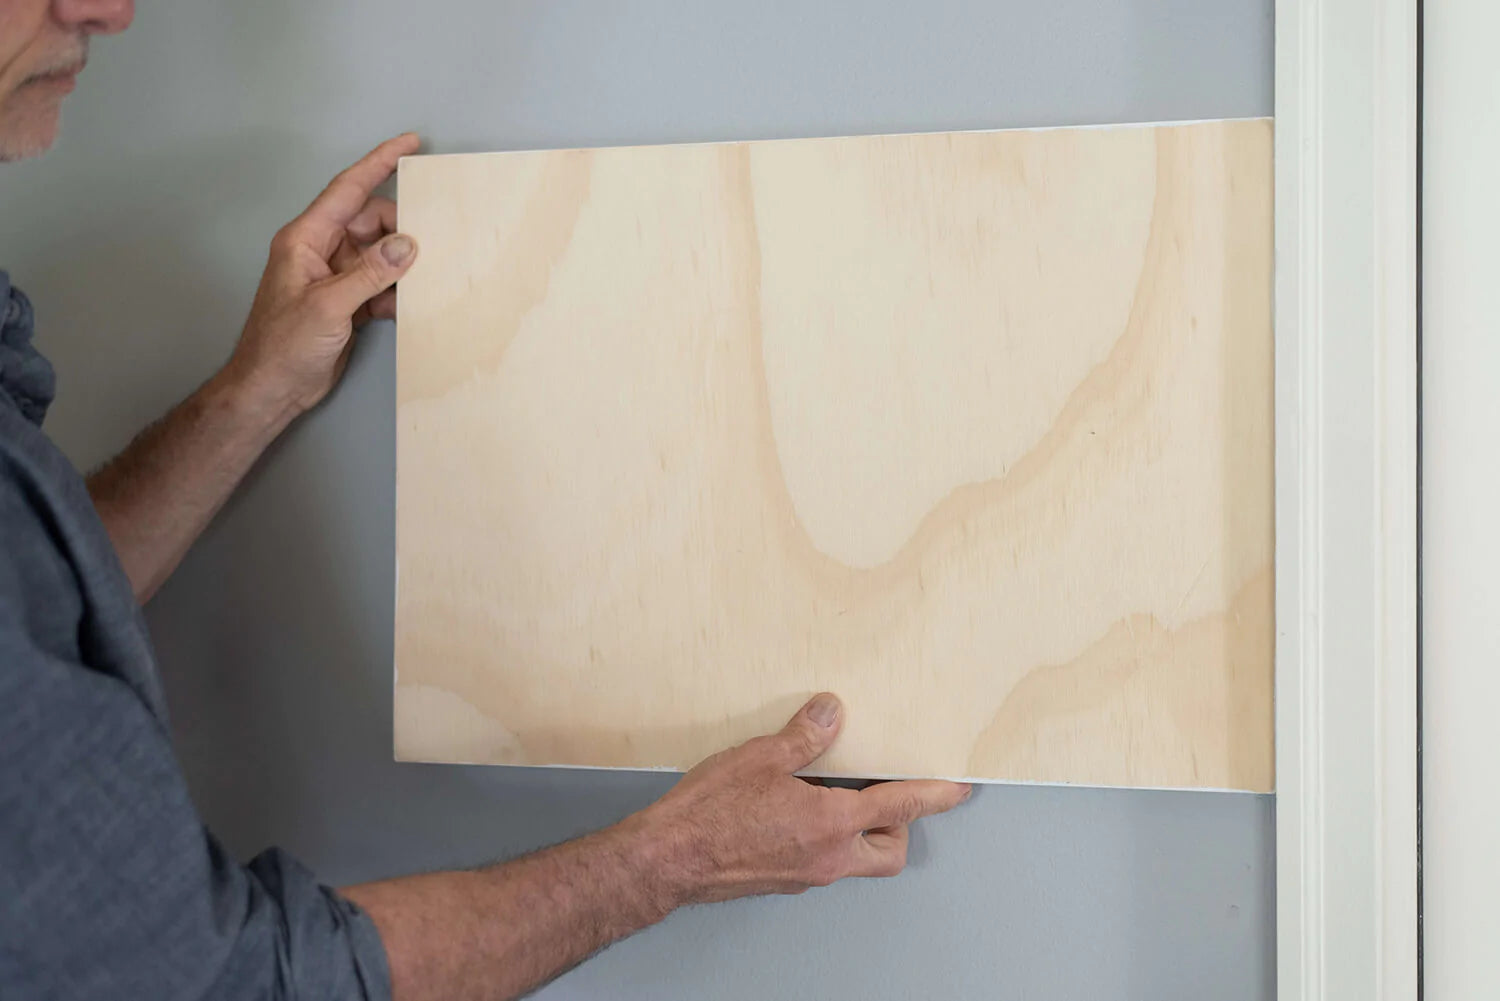
Step 3: If needed, install a wall board
You will need to use a board long enough to properly span the length of your studs. For this demonstration, we used a 20" wide x 14" tall x 3/4" thick plywood board, but your board may need to be a different length. Measure the distance between studs to determine the ideal size. It can be painted the same color as your wall to blend in.
Mark the other studs that’ll be behind your wall board.
Set your board into place, and pre-drill holes to line up with the studs. We recommend a line of 3 screws on each stud to be sure the wall board is secure.

Secure the wallboard with screws. We recommend 3 inch screws.

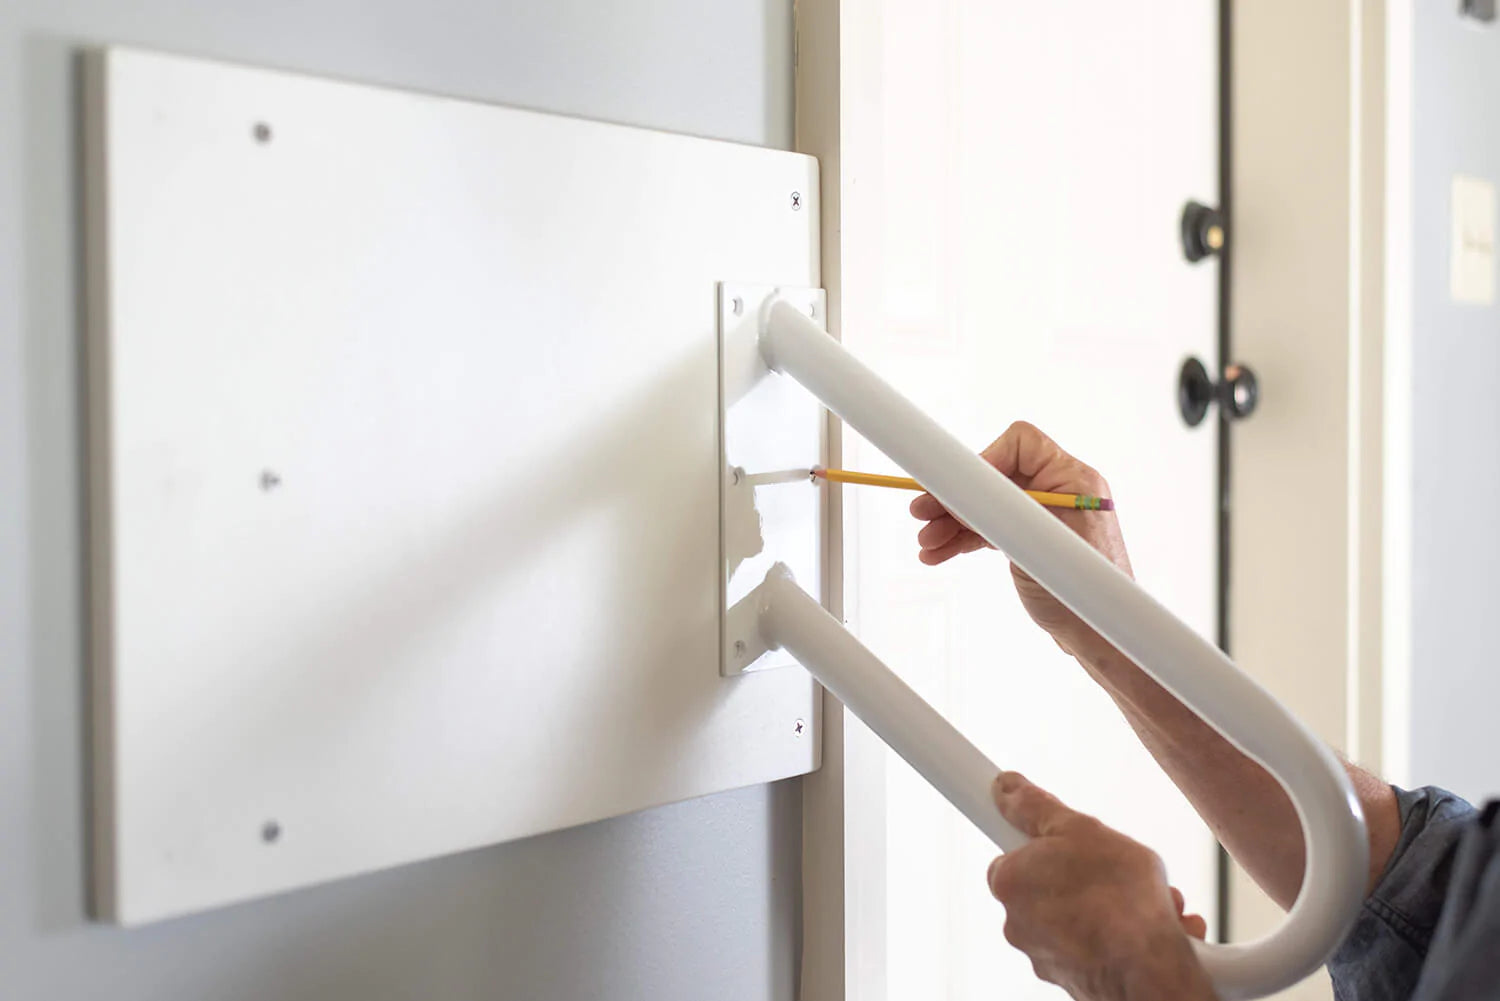
Step 4: Set the railing into position
Make sure your handrail is lined up properly from the door, and mark holes with a pencil.

Step 5: Pre-drill your holes
Using a 5/32" drill bit, pre-drill all six marked holes.


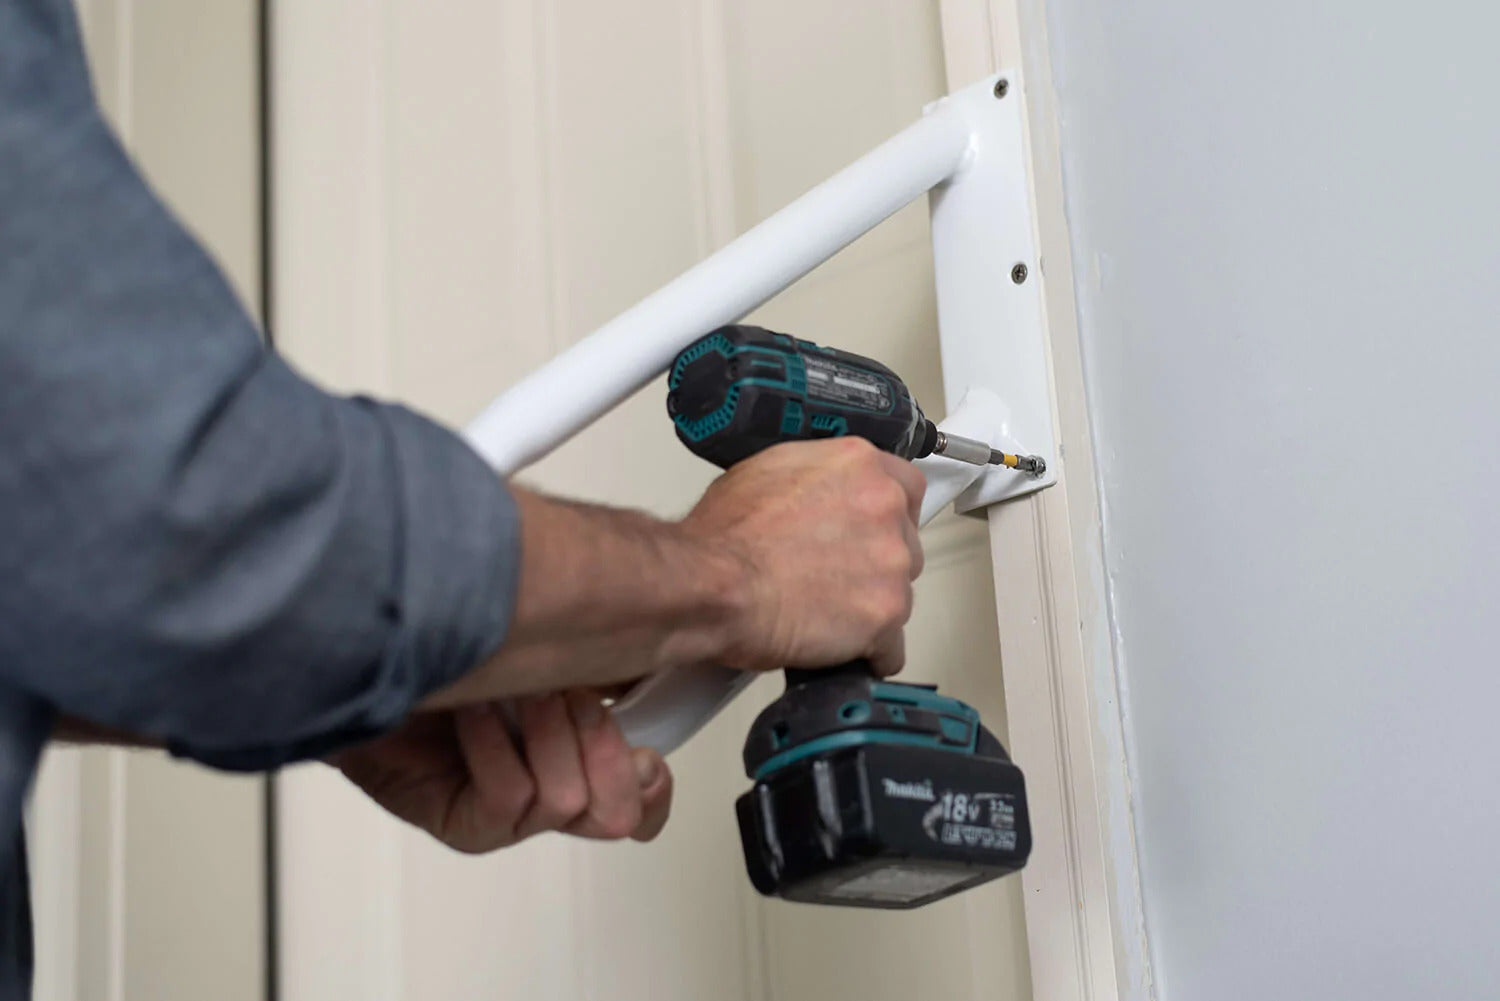
Step 6: Mount your handrail
With your wall mount handrail, you will receive 6 stainless steel screws. Using your Phillips bit and drill, mount the handrail in place with all 6 screws.


Installation is complete! You are now ready to navigate your stairs with greater confidence. If you have any questions on installation, feel free to contact us or email Steve at steve@holdtighthandrails.com.

Frequently Asked Questions
Have any questions about handrails? At Hold Tight Handrails, we want to make sure you know what kind of handrails you need for your home, garage, or outdoor steps. If you have any questions not listed here, please contact us.
Collapsible content
Who is the Hold Tight Handrail designed for?
Who is the Hold Tight Handrail designed for?
The Hold Tight Handrail is designed for anyone who needs extra stability navigating short staircases.
Typically, installing a handrail into these types of staircases required hammer drilling into concrete - a difficult and time consuming job. Our handrails are easily installed in 15 minutes. Whether you’re installing a home handrail or garage handrail, Home Tight Handrails are designed with strength and durability to bring you and your loved ones peace of mind.
Will the Hold Tight Handrail Fit in my home?
Will the Hold Tight Handrail Fit in my home?
Yes! Our handrails easily install either directly into a wooden door jamb, or onto any wall. They aredesigned to match the slope of your stairs at a standard angle. If you have questions about theHold Tight Handrailfitting into your space, you’re always welcometo contact us or email Steve directly at steve@holdtighthandrails.com.
Is the Hold Tight Handrail Sturdy?
Is the Hold Tight Handrail Sturdy?
Absolutely. Our handrails are welded from high quality steel, and are designed to connect to solidwood at multiple angles, which makes the installed product incredibly secure. Each order includesscrews that are at minimum 3 inches long, ensuring that the final product is solidly attached to your door jamb or wall stud.
What tools do I need for installation?
What tools do I need for installation?
To install our handrails, you will need
- a tape measure
- a drill
- a 5/32" drill bit for wall mount handrails or a 1/8” drill bit for jamb mount handrails
- a phillips drill bit
- the included screws
To safely install into a wall with only one stud anchor, we recommend that you use a wooden board for additional stability. More instructions can be found on our Installation Guide page.
What should I do if I have questions about installation?
What should I do if I have questions about installation?
We are happy to help and talk you through any installation issues! You’re welcome to contact us or email Steve directly at steve@holdtighthandrails.com.
How long will it take for my order to arrive?
How long will it take for my order to arrive?
All handrails are in stock and ready to ship within one business day. Orders ship via USPS or UPS ground, with most orders arriving in 3-5 business days. If you need yourhome handrailsooner, rush shipping options are available at checkout.
What is your return policy?
What is your return policy?
We want you to be thrilled with your handrails! If for any reason they don’t work in your space, or don’t meet your expectations, we accept returns within 30 days of purchase. Returned handrails must be in re-sellable condition, and we ask that you pay return shipping. For returns or general questions, contact us or email steve@holdtighthandrails.com.
Do you offer wholesale or bulk pricing?
Do you offer wholesale or bulk pricing?
Contact us or email steve@holdtighthandrails.com with requests.
Where are the Hold Tight Handrails made?
Where are the Hold Tight Handrails made?
The Hold Tight Handrails are made in the USA, being manufactured locally in Minnesota.